by Todd Rutherford

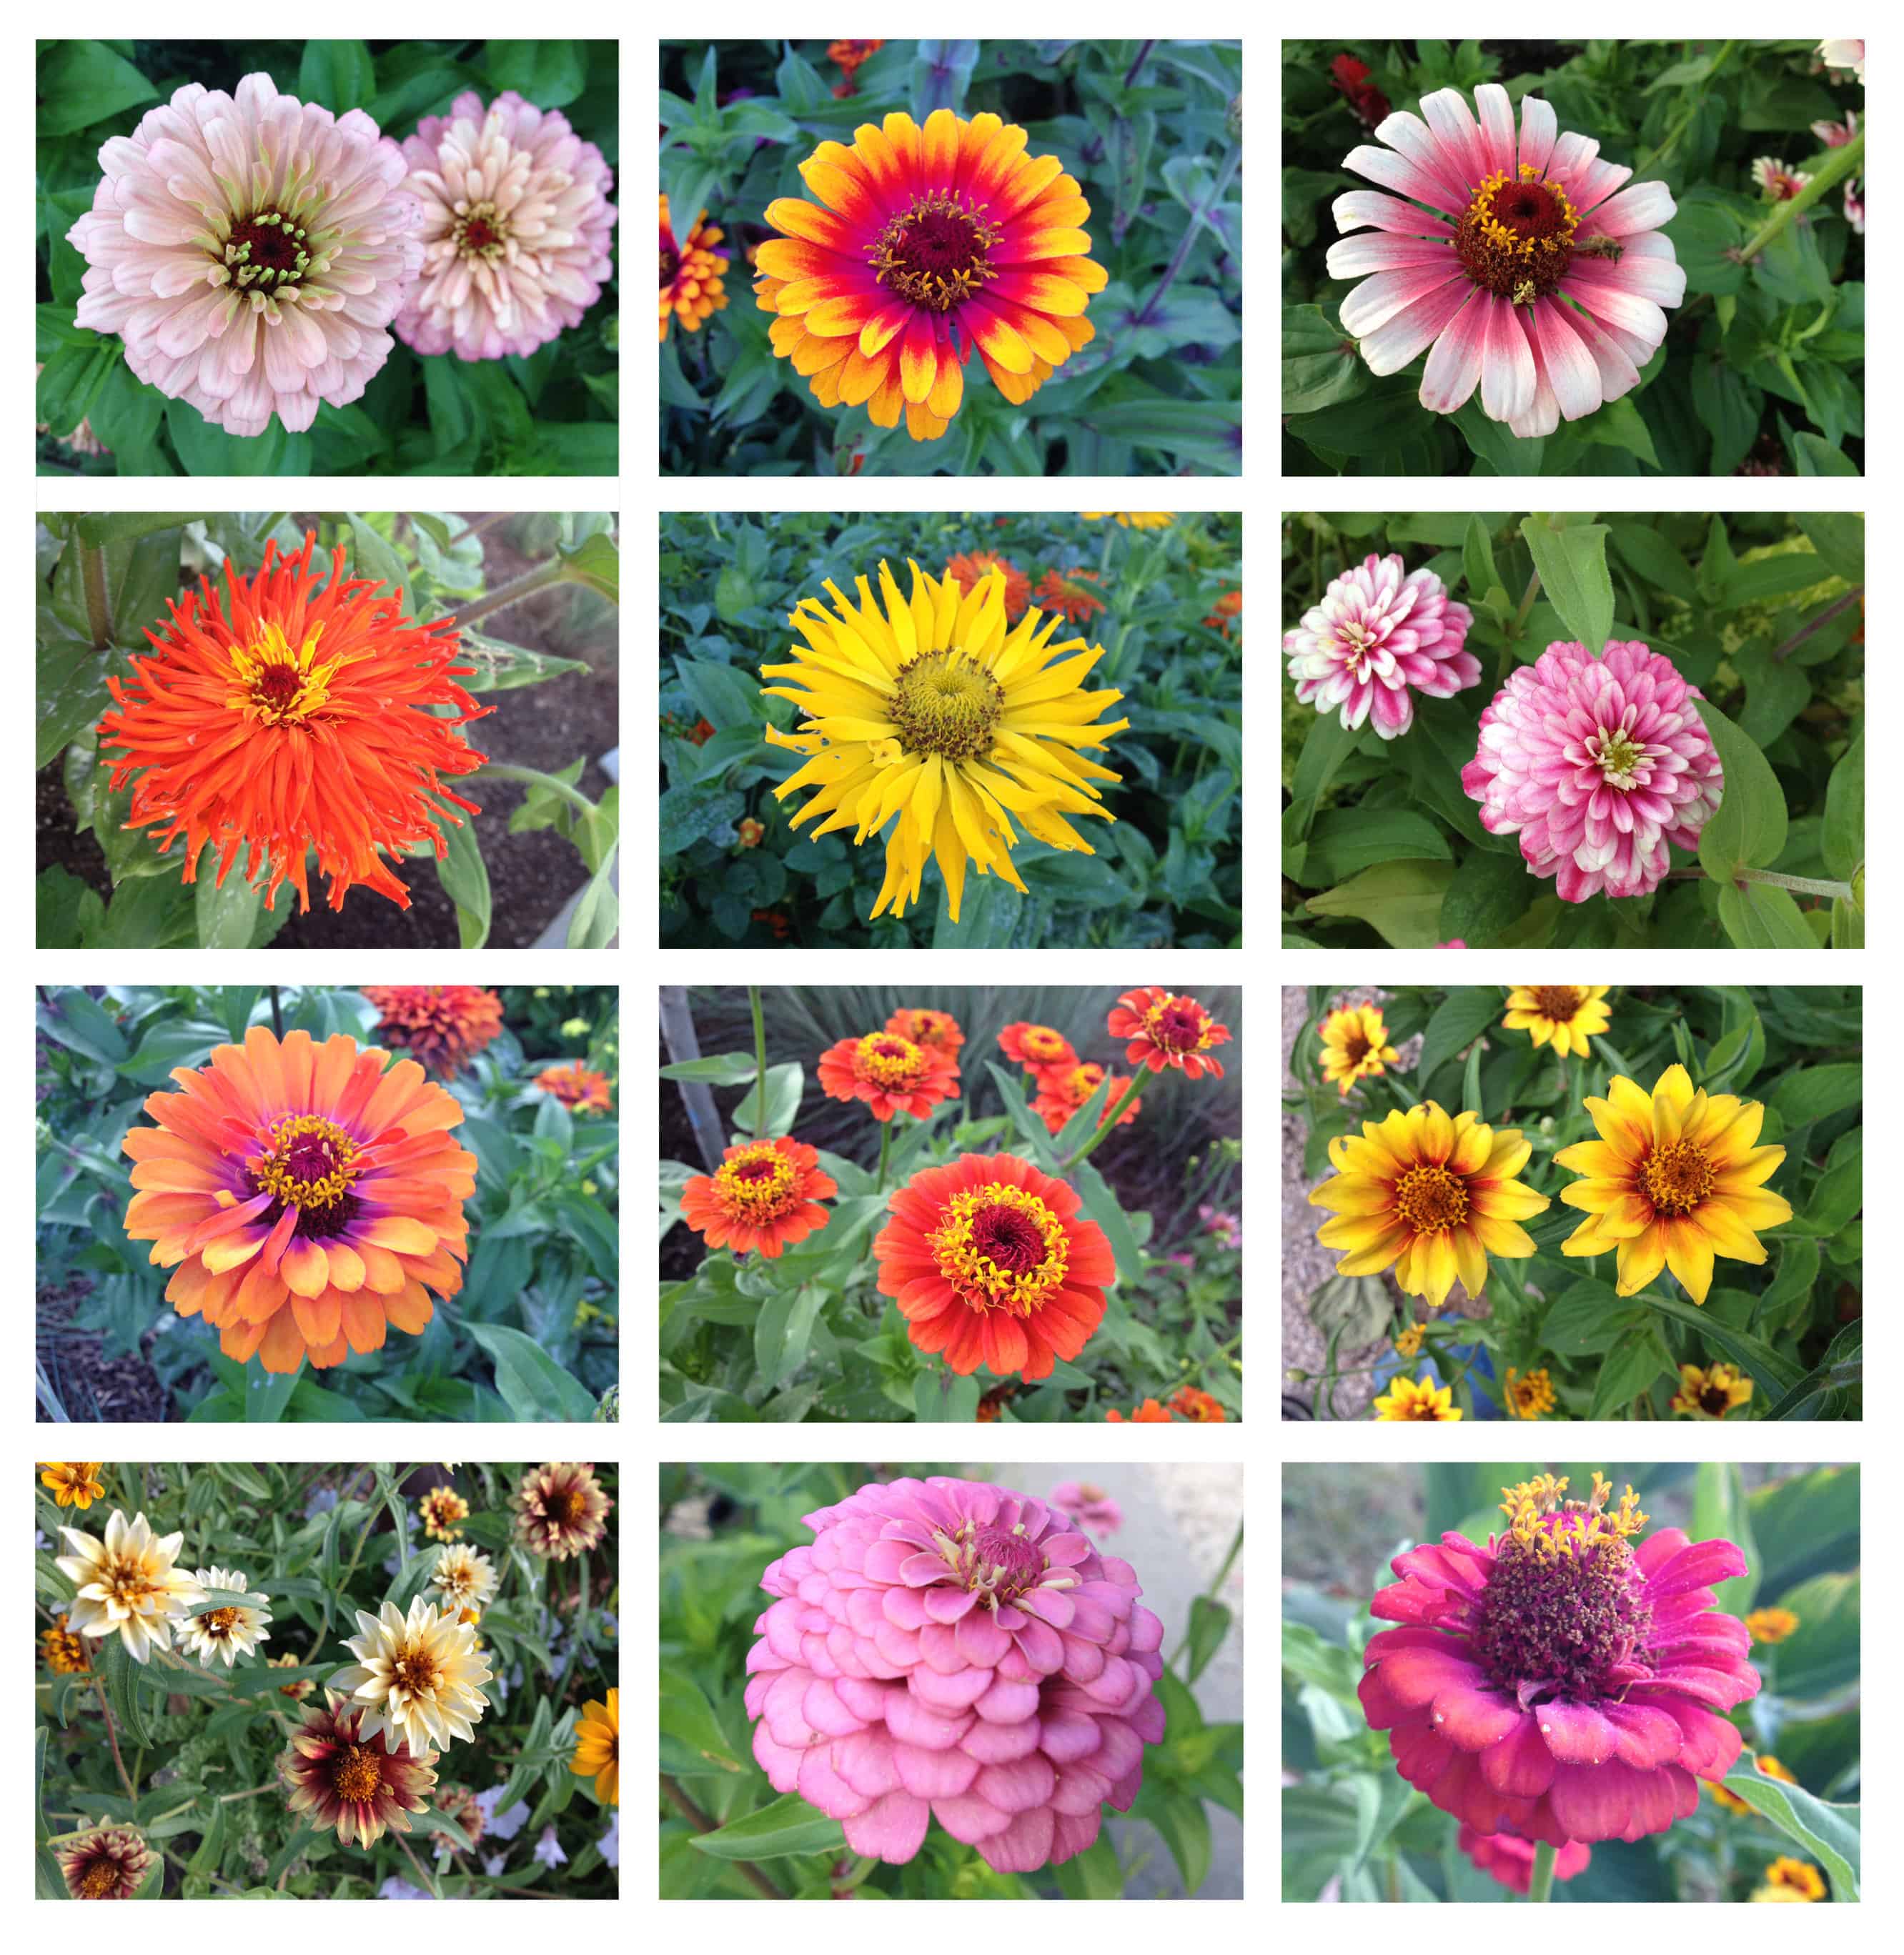
These photos show a sampling of the diversity of color and form that annual Zinnia flowers can exhibit.
I have recently become a fan of the old garden stand-by, the Zinnia. The garden Zinnia was a favorite annual of yesteryear, and seems to be experiencing a resurgence in popularity of late.
The Zinnia genus contains annuals, perennials and shrubs. All the Zinnia species are native to our hemisphere, in an area that stretches from the southwestern U.S. down to South America.
The most common annual Zinnia you can purchase as seed or as bedding plants is likely to be Zinnia elegans or Zinnia haageana. Plant breeders have created many Zinnia cultivars over the years. Annual Zinnias are easy to grow from seed, and do very well in my growing conditions in Colorado.
One thing I’ve only noticed after I started growing them is the great variety of color and form that the flowers exhibit. There seems to be an endless supply of different colors, forms, and sizes that annual Zinnia flowers will exhibit.
The photos shown above are a small selection of the diversity of Zinnias you can grow in your garden. Some of these zinnias I grew from seed in my garden, and some of them are growing in the Denver Botanic Gardens. Most of the Zinnias pictured here are cultivars of Zinnia elegans. A couple of them might be cultivars of Zinnia haageana.
Bees and butterflies seem to love Zinnia flowers, too. The recent migration of Painted Lady (Vanessa cardui) butterflies that passed through Denver, brought a plethora of butterflies feasting on my Zinnias. And in the evening, several bumble bees (genus Bombus) could be found sleeping on the underside of some of the zinny flowers in my yard, after they had spent a busy day buzzing from one Zinnia flower to another.
Zinnias are so easy to start from seed, that I recommend you try to grow some in your yard at the start of the next garden season.
This is the official blog of Outdoor Design Group, Colorado Landscape Architects. For more information about our business and our services, click here.
Related Posts:
by Todd Rutherford
 If you are a “plant person” you’re probably aware of the option of growing your own plants from seed indoors. If you’ve never tried it before, it is definitely worth the experience. Not only is it a great way to save money over buying your plants at a nursery, it is also fascinating to watch the plants sprout and mature under your care. As an added bonus if you’re interested in uncommon plant varieties, this is a way to get your hands on those hard-to-find plants from native flowers to heirloom crop plants.
TIMING
When you start your seeds indoors is dependent on when you want to plant your seedlings outdoors. And that is obviously dependent on what plant hardiness zone you live in, and the hardiness of the seeds you will start. Here in the urban Front Range of Colorado, some gardeners refer to the middle of March as a good average time to start many vegetable seeds indoors. Our last day of frost is usually in the first week of May. That roughly translates to about 6-8 weeks of indoor growth for your seeds before you can safely plant them outside. Search the internet to determine your local plant hardiness zone, and read the seed packet to determine how long germination takes for your seeds. Plant species vary in the time needed before they can be transplanted outside.
TOOLS
Like many DIY projects, you can invest as much time and money or as little as you’d like on starting seeds indoors. Some people utilize complicated equipment, such as special shelves and lights, and miniature green houses to start seeds. Others keep it simple and start their seeds in soil filled Dixie cups on the windowsill.
I believe one essential ingredient for seed starting success is a sterile seed-starting mix. This is a “soil-less potting soil” mix that offers a texture that is just right for seeds to germinate. Using any other type of soil for indoor seed germination may lead to the seedlings succumbing to a fungal rot. You can buy pre-made mixes or make your own.
Many people use seed starting trays which are readily available at garden centers and home improvement stores. These come with many options like a wicking mat to keep the seed mix properly moist, or a heating pad to maintain ideal temperature. I’ve gone the less expensive route and used left-over food containers with clear lids (like salad mix boxes). Inside these boxes I place small store-bought peat pots filled with seed start mix. If you reuse a food container or seeding tray, wash it with soap and hot water, and rinse in a dilute chlorine/water solution to sterilize them.
TECHNIQUE
Fill your trays or pots about ¾ full with lightly moistened seed mix medium. Place the seeds on the medium and then cover with more seed mix medium to a depth of roughly three times the thickness of the seed (Or the recommended depth as stated on the seed packets). Some seeds require sunlight to germinate, and so should not be covered at all. Also included on the seed packets is information about when to best sow the seed.
Whether you use a seed tray or a leftover food box, it’s important to utilize a clear lid or plastic wrap to cover the seeds before they germinate. This provides a moist environment which promotes germination, yet allows light to reach the soil surface. However once the seedlings reach 2 inches tall, you’ll want to uncover the seedlings so they are not too wet and so more light can reach the seedlings. If it is too wet, the seedlings may rot.
Ideal temperature for the germination of most seeds is 72 during the day, and 65 at night. Protect the germinating seeds from cold drafts. But seedlings don’t need to be kept as warm as germinating seeds. Move them off any heating mats, and away from any heat sources.
To avoid the seedlings getting too leggy and elongated, it is recommended that you place them in a sunny spot and/or suspend fluorescent lights 3 inches above the tray. Raise the light as the seedlings grow. If no supplemental natural light is available, adding an incandescent light bulb can help produce better growth in the seedlings.
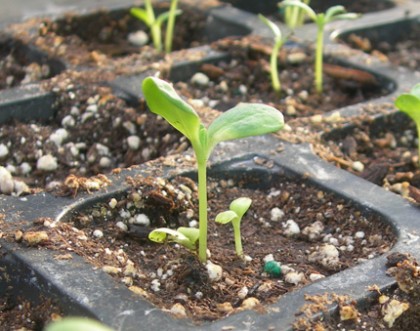
Once seedlings have developed four “true” leaves (and not just the cotyledons or embryonic “first leaves”) you can fertilize with ¼ strength water-soluble fertilizer. If they are in small pots or the “cells” typical of the seed starting trays, you can transplant them to their own larger pots to give them more room to grow before they are planted outside. Be aware that some vegetable and annual seedlings don’t transplant well and should go directly from the original seed-start containers into the garden.
If you planted too many seeds per individual pot or tray cell, your seedlings may be crowded and you should consider thinning out excess seedlings to avoid competition for soil nutrients and water. Do this by carefully snipping unwanted and week seedlings with scissors. It is best to prune out the extra seedlings before they reach 2 inches tall.
If your seedlings are looking spindly or elongated, petting them gently with your hand once or twice daily will help to stimulate more stocky growth. This artificially simulates the wind the seedlings would encounter if they were growing outdoors. You can also set up a small gentle fan to continuously blow on the seedlings. This is done in many commercial greenhouses. If you utilize a fan, be sure to not allow the soil surrounding the seedlings to dry out too much.
Around two weeks before planting your new plants in the garden, harden them off by moving them outdoors on warm days to a shaded porch, and then back inside during the evening.
One thing to keep in mind is that some types of plants are inherently easier to start from seed. You will notice this as you look at the seed types available for sale in garden centers. However, don’t be limited by this selection. Consider collecting, saving and swapping seeds with friends and neighbors. And don’t forget to keep track of which seeds did well, and which ones produced desired results so you can repeat your success next year.
This is the official blog of Outdoor Design Group, Colorado Landscape Architects. For more information about our business and our services, click here.
Related Posts:

